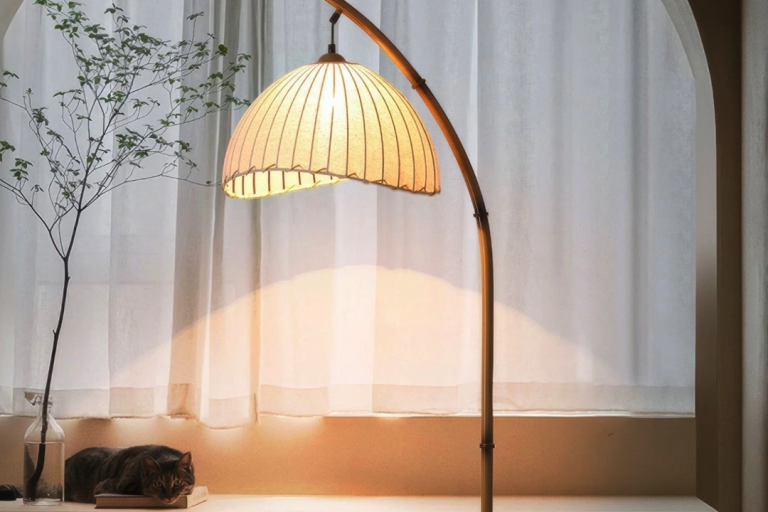
How to Choose the Perfect LED Downlight for Your Home or Office
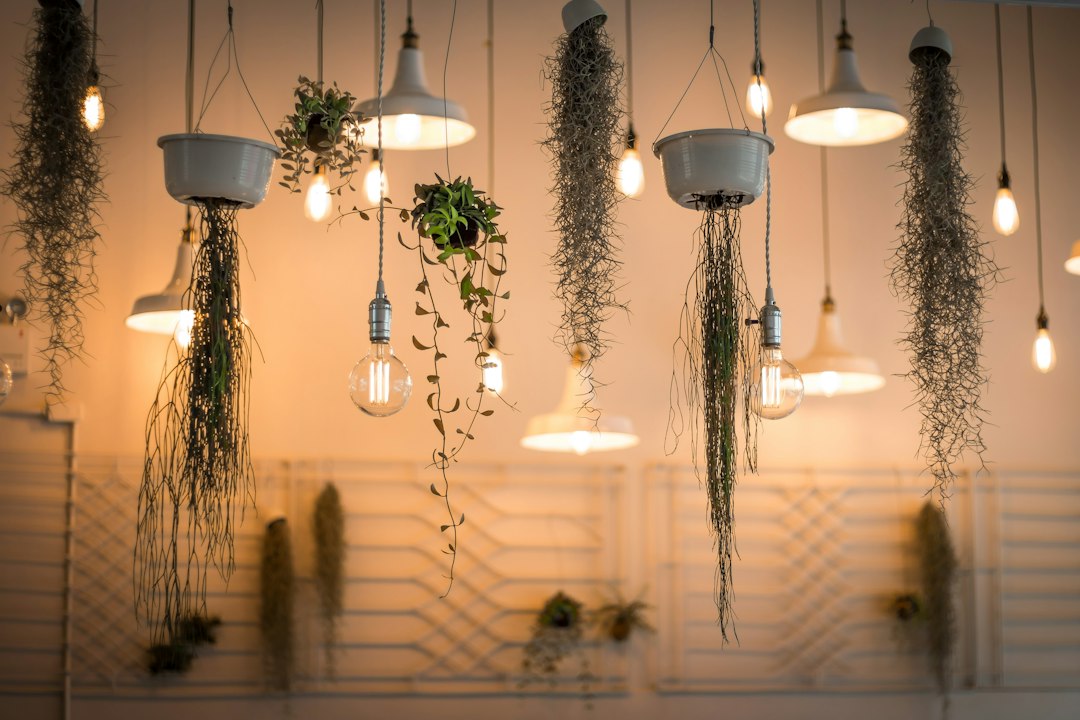
Choosing the right LED downlight for your space can feel a bit overwhelming with all the options out there. The short answer is, it’s a balance of several key factors: light output (brightness), color temperature (warmth/coolness), beam angle (how wide the light spreads), dimmability, and the physical size and finish to match your decor. We’ll break down each of these, along with some practical considerations, to help you confidently pick the best lights for your home or office.
Understanding Your Space and Needs First
Before diving into the technical specs, take a moment to really think about the room you’re lighting. What’s its purpose? What kind of atmosphere do you want to create? These fundamental questions will guide many of your later decisions.
Room Functionality
A kitchen needs different lighting than a bedroom. Task-oriented areas like kitchens, home offices, or workshops generally benefit from brighter, more focused light. Living rooms, dining rooms, and bedrooms often call for softer, more ambient illumination. Consider if the room is a high-traffic area, a place for relaxation, or a space where specific tasks are performed.
Desired Atmosphere
Do you want a cozy, inviting feel, or something crisp and energizing? The “mood” of a room is heavily influenced by light. Warm light tends to make spaces feel more intimate and relaxed, while cooler light can make them feel more modern, sterile, or alert. Think about how you want to feel when you’re in that room.
Existing Lighting and Natural Light
Are the downlights going to be the primary light source, or are they supplementary to other fixtures like lamps, pendants, or natural light from windows? If there’s plenty of natural light during the day, you might not need as many or as bright downlights. Conversely, a windowless office will rely heavily on artificial light. Consider the overall lighting scheme, not just the downlights in isolation.
Key Technical Specifications Explained
Once you have a handle on your room’s needs, it’s time to translate those into downlight specifications. These are the numbers and terms you’ll see on product boxes, and understanding them is crucial.
Lumens and Brightness (How Much Light?)
Forget about watts when choosing LEDs; lumens are what really matter. Lumens measure the total amount of visible light produced by a bulb. More lumens mean a brighter light.
- For ambient lighting: A general guideline for residential spaces is 10-20 lumens per square foot. However, this can vary wildly.
- For task lighting: Areas like kitchen counters, desks, or reading nooks will need significantly more lumens, perhaps 30-50 lumens per square foot, possibly even higher for specific tasks.
- Office spaces: Often require higher overall illumination for productivity, typically in the range of 30-40 lumens per square foot, depending on the specific tasks performed.
Don’t just pick the brightest option available. Overly bright lighting can cause glare and discomfort. It’s often better to have more dimmable downlights than fewer extremely bright, non-dimmable ones.
Color Temperature (CCT) and Ambiance (What Color is the Light?)
Color temperature, measured in Kelvins (K), describes the perceived warmth or coolness of the light.
- Warm White (2700K-3000K): Mimics traditional incandescent bulbs. Creates a cozy, inviting, and relaxing atmosphere. Ideal for living rooms, bedrooms, and dining areas.
- Neutral White/Cool White (3500K-4000K): A balanced light that’s less yellow than warm white but not stark blue. Good for kitchens, bathrooms, hallways, and general office areas where a clear, bright but not overly sterile light is desired. It’s a good all-rounder for many modern homes.
- Daylight White (5000K-6500K): Closest to natural daylight at noon. Very bright, crisp, and stimulating. Best for task-intensive areas like workshops, garages, specific office tasks (e.g., drafting), or retail displays where color accuracy is important. Generally too harsh for residential living spaces.
Many people use a mix. For instance, warmer tones in living areas and bedrooms, and slightly cooler tones in kitchens and bathrooms. Some advanced downlights offer tunable white features, allowing you to adjust the CCT, which is incredibly versatile but usually comes at a higher cost.
Beam Angle (How Wide Does the Light Spread?)
The beam angle dictates how focused or widespread the light is. It’s measured in degrees.
- Narrow Beam (15-30 degrees): Creates a spotlight effect, highlighting specific objects like artwork or architectural features. Less effective for general illumination.
- Medium Beam (30-60 degrees): A common choice for general lighting in many rooms. Provides a good balance of focused light and spread. Often used for task lighting over kitchen islands or work surfaces.
- Wide Beam (60-120+ degrees): Ideal for general ambient lighting, distributing light evenly across a larger area. Reduces the need for as many downlights to cover a room. Most common for living rooms and general office spaces.
Consider the ceiling height too. Higher ceilings often benefit from narrower beam angles to ensure enough light reaches the floor, or you might need brighter lights with a wider angle to compensate for the distance. Lower ceilings usually do well with wider beams to avoid harsh, focused hotspots.
Dimmability and Control (Can You Adjust the Light?)
Dimmable downlights offer significant flexibility and energy savings. Being able to adjust the light intensity is invaluable for setting different moods and adapting to various activities.
- Check compatibility: Not all LED downlights are dimmable, and even dimmable ones may require a specific type of dimmer switch (usually leading edge or trailing edge, often referred to as “LED compatible” dimmers). Using an incompatible dimmer can lead to flickering, buzzing, or premature light failure.
- Smooth dimming: Look for downlights that offer smooth dimming without flicker or stepping. This is often indicated by a high CRI (Color Rendering Index) at low dimming levels, though not always explicitly stated.
- Smart control: Many modern downlights integrate with smart home systems, allowing control via apps, voice commands, or automated schedules. This adds convenience but also complexity and cost.
Installation and Physical Considerations
Beyond the light itself, you need to think about how these fixtures will physically fit and look in your space.
Size and Cutout Diameter
Downlights come in various physical sizes, measured by their external diameter and the cutout diameter required in the ceiling.
- Common sizes: 75mm, 90mm, 120mm, and 150mm are very common cutout sizes. Smaller downlights are often used for accent lighting or in smaller spaces. Larger ones are more suited for general illumination in larger rooms.
- Aesthetics: The size and spacing of downlights significantly impact the aesthetic. A grid of smaller downlights can look cleaner than a few very large ones.
- Ceiling void: Ensure you have enough clearance in your ceiling void for the downlight fixture, especially if it includes a driver or housing that sits above the ceiling line.
IP Rating (Water and Dust Resistance)
The IP (Ingress Protection) rating indicates how well a fixture is protected against solids (like dust) and liquids (like water). This is crucial for certain areas.
- IP20/IP21: Standard rating for dry indoor areas like living rooms, bedrooms, and hallways. Minimal protection against dust, no protection against water.
- IP44: Protected against solid objects larger than 1mm and splashing water from any direction. Suitable for bathrooms outside of direct shower zones, and often used in kitchens.
- IP65: Fully protected against dust ingress and low-pressure jets of water from any direction. Essential for shower enclosures, outdoor eaves, or other areas where direct water exposure is likely.
Always check the IP rating, especially for bathrooms and kitchens, to ensure safety and longevity.
Fire Rating (Safety First)
Fire-rated downlights are designed to maintain the integrity of a ceiling’s fire resistance for a specified period (e.g., 30, 60, or 90 minutes) if a hole is cut for the downlight. This is a critical safety feature, especially in multi-story buildings or ceilings that form part of a protected escape route.
- Building codes: In many regions, fire-rated downlights are a legal requirement when installing into ceilings that separate floors or form part of a fire-resistant barrier.
- Intumescent materials: Fire-rated downlights typically incorporate intumescent materials that expand when exposed to heat, sealing the gap around the downlight and preventing the spread of fire and smoke.
- Check with regulations: Always consult local building regulations or a qualified electrician to determine if fire-rated downlights are required for your specific installation. Do not compromise on fire safety.
Finish and Aesthetics
Downlights aren’t just about light; they’re also a visible part of your ceiling. The finish, trim style, and color can impact the overall look of a room.
- Trimmed vs. Trimless:
- Trimmed: Has a visible bezel or ring around the light source. More common, easier to install, and covers minor imperfections in the ceiling cut.
- Trimless (plaster-in): Designed to be plastered into the ceiling, creating a seamless, flush look where only the light aperture is visible. More expensive and requires more precise installation by a plasterer or skilled installer. Offers a very clean, minimalist aesthetic.
- Color and Material: Common finishes include white (most popular, blends into white ceilings), brushed chrome/nickel (modern look), polished chrome (sleek, reflective), black (bold, dramatic), and occasionally bronze or brass. Match the finish to your existing fixtures (door handles, taps, switches) for a cohesive design.
- Recessed vs. Surface Mount: Most downlights are recessed, meaning they sit flush with or slightly above the ceiling. Surface-mounted downlights sit entirely on the surface of the ceiling and are used when recessing isn’t possible or for a specific aesthetic.
Other Important Considerations
A few more practical points to ensure you make an informed decision.
Energy Efficiency and Lifespan
LEDs are inherently energy-efficient and long-lasting, but there can still be differences between products.
- Energy Star or equivalent ratings: Look for certifications that indicate energy efficiency.
- Lumens per watt (lm/W): A higher lm/W ratio means the light is more efficient at converting electricity into light.
- Rated lifespan: LEDs are typically rated for 25,000 to 50,000 hours. While often a manufacturer’s estimate, it gives you an idea of expected longevity. A longer lifespan means less frequent replacement, which is especially beneficial for high ceilings or commercial spaces.
- Integrated vs. Replaceable Bulb: Some downlights have integrated LED modules that are not user-replaceable, meaning if the LED fails, the whole fixture needs replacing. Others use GU10 or similar LED bulbs that can be easily swapped out. Integrated designs often offer better thermal management and a cleaner look, but replacing the whole unit can be more expensive if it fails prematurely.
Driver Type (Integrated vs. External)
The driver is the component that converts the mains voltage to the correct voltage for the LED.
- Integrated driver: The driver is built directly into the downlight fixture. This makes installation simpler and the fixture often more compact. However, if the driver fails, the entire unit usually needs to be replaced.
- External driver: The driver is a separate component connected to the downlight. This can sometimes make installation slightly more complex as it needs to be hidden in the ceiling void, but it allows for easier replacement of just the driver if it fails, potentially extending the life of the downlight head. External drivers can also offer more advanced features like smart dimming or tunable white options.
Glare and Eye Comfort
Poorly designed or positioned downlights can cause uncomfortable glare.
- Recessed light source: Downlights where the LED chip is deeply recessed within the fixture minimize direct glare, as you’re less likely to see the light source itself from most viewing angles.
- Frosted diffusers: These spread the light more evenly and soften the light source, reducing harshness.
- Location and spacing: Overlapping light pools or placing downlights too close to walls can create hot spots or unwanted shadows. Careful planning of placement is key.
Cost and Warranty
Price varies significantly based on brand, features, quality, and design.
- Budgeting: Don’t necessarily go for the cheapest option, as low-quality LEDs can flicker, have poor color consistency, or fail prematurely. Conversely, the most expensive isn’t always necessary. Find a balance that meets your needs and budget.
- Warranty: Good manufacturers offer warranties, often 3-5 years. This provides peace of mind regarding product reliability. Always check the warranty terms.
Planning Your Downlight Layout
Once you’ve settled on the type of downlight, the next step is figuring out where to put them. This isn’t just about aesthetics; it’s about effective illumination.
General Spacing Guidelines
There’s no single perfect formula, as it depends heavily on room size, ceiling height, lumen output, and beam angle of your chosen downlights. However, here are some starting points:
- Rule of thumb for ambient lighting: For an average room with 2.4m – 2.7m ceilings, downlights are often spaced roughly 1.0m to 1.5m apart from each other, and 0.5m to 0.75m from the wall. This creates overlapping light cones for even illumination.
- Higher ceilings: Will require closer spacing, brighter lights, or narrower beam angles to avoid dark spots.
- Lower ceilings: Might allow for wider spacing or wider beam angles to prevent the room feeling over-lit or having harsh hotspots.
Task Lighting Placement
For specific work areas, downlights need to be strategically placed to illuminate the task directly without casting shadows from the person performing the task.
- Kitchen counters: Position downlights slightly in front of the counter edge, rather than directly overhead, to avoid shadows from your body when you’re working.
- Desks/workstations: Similar to counters, place them to the side or slightly in front to minimize shadows. Consider adjustable downlights that can be angled.
- Reading nooks: A single focused downlight above the reading chair can be very effective, potentially with a narrower beam angle.
Accent Lighting Considerations
If you’re using downlights to highlight features, their placement is critical.
- Wall washing: To illuminate a wall evenly (e.g., to highlight textured wallpaper or a mural), place downlights closer to the wall, typically 0.5m – 1.0m away, and space them consistently.
- Object highlighting: For artwork or specific architectural details, use narrow-beam downlights and angle them directly at the feature. Test different angles before final installation.
Avoiding “The Swiss Cheese” Effect
Resist the urge to simply pepper the ceiling with downlights in a uniform grid without considering their purpose. This can lead to an over-lit, sterile environment and often causes excessive glare. Plan zones of lighting, combine different beam angles, and integrate other light sources for a more sophisticated and comfortable result.
Final Steps and Professional Advice
You’ve done your homework, now what?
Test and Sample
If possible, try to see the downlights in person, or order a single sample to test in your space before committing to a whole house or office full. This is especially true for color temperature and dimming performance. What looks good on a spec sheet might not feel right in your environment.
Consult an Electrician
Always use a qualified and licensed electrician for installation. They will ensure the downlights are installed safely, according to local building codes, and that they are properly wired to your dimmer switches and power supply. An electrician can also advise on fire rating requirements and complex layouts.
Don’t Rush the Decision
Lighting has a profound impact on how a space looks and feels. Take your time, weigh the pros and cons of different options, and plan thoroughly. A well-lit space is functional, comfortable, and aesthetically pleasing, making the effort worthwhile.

You May Also Like
Wall Washer Light Buying Mistakes to Avoid for Perfect Lighting
November 2, 2026
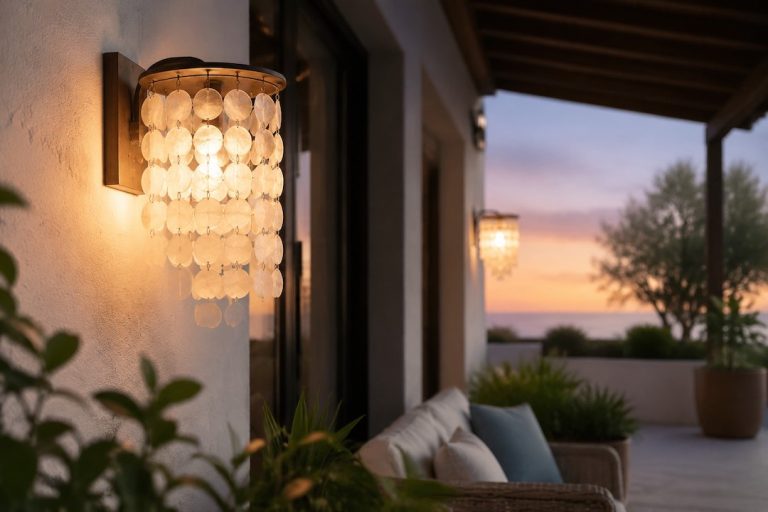
Enhance Your Outdoor Space with a Capiz Shell Wall Light
August 10, 2026
Enhance Your Space with Extra Tall Fluted Glass Vanity Light
August 3, 2026
Long-lasting Metal Arm Wall Lamp with Fabric Shade
January 12, 2026